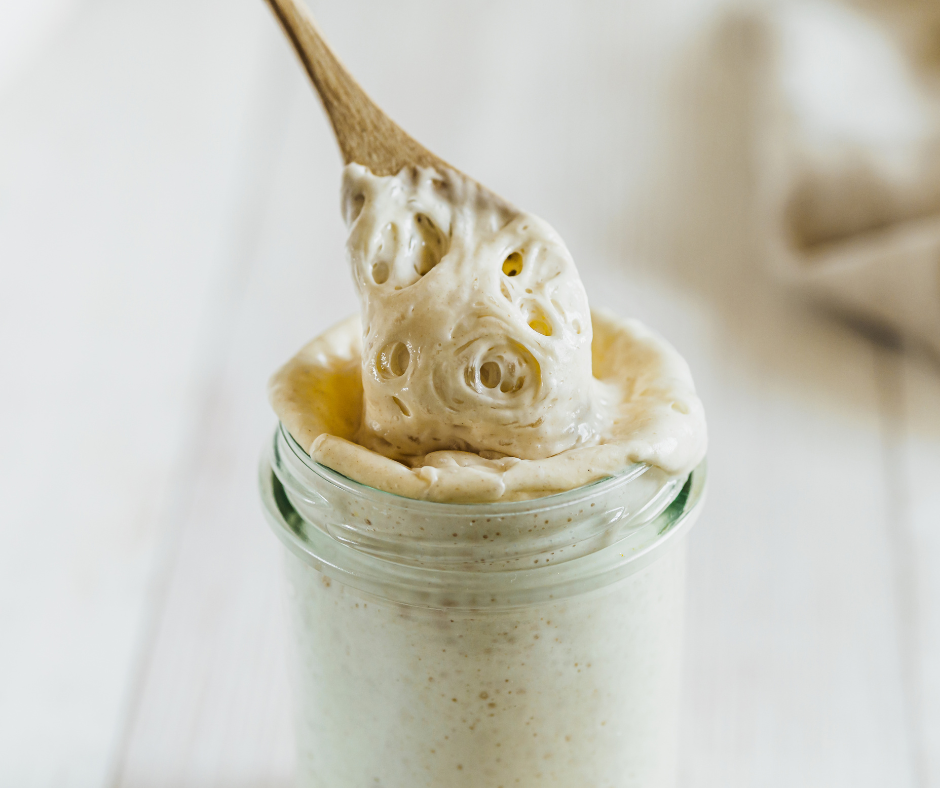
Sourdough Starter
Making your own sourdough bread brings about a whole new level of bread baking. Once you start this sourdough starter, you’ll be so surprised at what you can do with it, and you’ll never go back! This is such a fun homeschooling experience for the kiddos too! I love knowing what is exactly in my food, especially bread. The opportunities are endless! From breads to waffles, cakes, cookies, rolls, pretzels, bagels, cinnamon rolls…..ENDLESS!
Ingredients:
- 50 grams organic wheat bread flour
- 50 grams cool water
To feed your starter:
- 50 grams organic wheat bread flour
- 50 grams cool water (if your house is warm) or lukewarm water (if your house is cool)
Instructions:
- Day 1: Combine the whole wheat flour with the cool water in a non-reactive container. Glass, crockery, stainless steel, or food-grade plastic all work fine for this. Make sure the container is large enough to hold your starter as it grows; I recommend at least 1-quart capacity.
- Stir everything together thoroughly; make sure there’s no dry flour anywhere. Cover the container loosely and let the mixture sit at warm room temperature (about 70 degrees F) for 24 hours.
- Day 2: You may see no activity at all in the first 24 hours, or you may see a bit of growth or bubbling. Either way, discard all but 50 grams of the starter, and add to the remainder another 50 grams of flour, and 50 grams of cool water (if your house is warm) or lukewarm water (if it’s cold).
- Mix well, cover, and let the mixture rest at room temperature for 24 hours.
- Day 3: By the third day, you’ll likely see some activity – bubbling, a fresh fruity aroma, and some evidence of expansion. It’s now time to begin TWO feedings daily, as evenly spaced as your schedule allows. For each feeding, weigh out 50 grams of starter; Discard any remaining starter.
- Add 50 grams of flour and 50 grams of water to the 50 grams of starter. Mix the starter, flour, and water, cover, and let the mixture rest at room temperature for approximately 12 hours before repeating.
- Day 4: Weigh out 50 grams of starter, and discard any remaining starter. Repeat step 6.
- Day 5: Weigh out 50 grams of starter, and discard any remaining starter. Repeat step 6. By the end of day 5, the starter should have at least doubled in volume. You’ll see lots of bubbles, there may be some little “rivulets” on the surface, full of finer bubbles. Also, the starter should have a tangy aroma – pleasingly acidic, but not overpowering. If your starter hasn’t risen much and isn’t showing lots of bubbles, repeat discarding and feeding every 12 hours on day 6 and day 7 if necessary – as long as it takes to create a vigorous (risen, bubbly) starter.
- Once the starter is ready, give it one last feeding. Discard all but 4 ounes (a generous 1/2 cup). Feed as usual. Let the starter rest at room temperature for 6-8 hours; it should be active, with bubbles breaking the surface.
- Remove however much starter you need for your recipe. If your recipe calls for more than 1 cup of starter, give it a couple of feedings without discarding, until you’ve made enough for your recipe plus 50 grams to keep and feed again.
- Transfer remaining 50 grams of starter to its permanent home: a crock, jar, or whatever you’d like to store it in long term. Feed this reserved starter with 50 grams of flour and 50 grams of water, and let it rest at room temperature for several hours, to get going, before covering it. If you’re storing starter in a screw-top jar, screw the top on loosely rather than airtight.
- Store this starter in the refrigerator, and feed it regularly; I recommend feeding it with 100 grams of flour and 100 grams of water once a week.
